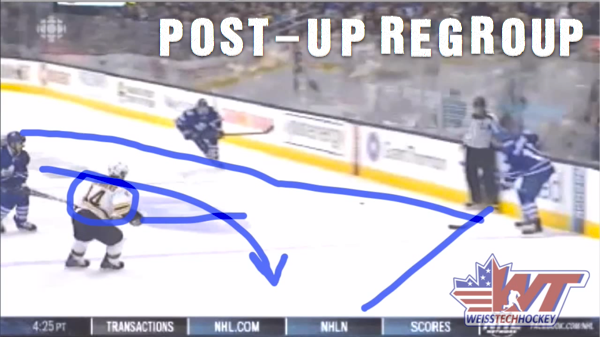
Post-Up Regroup in Action
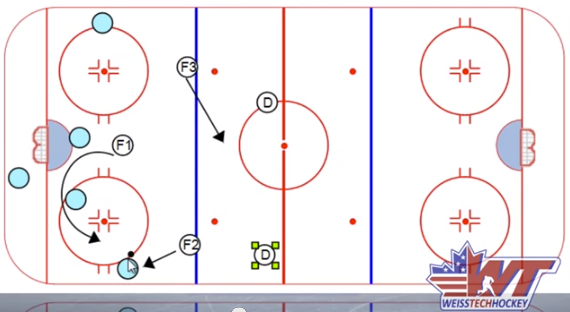
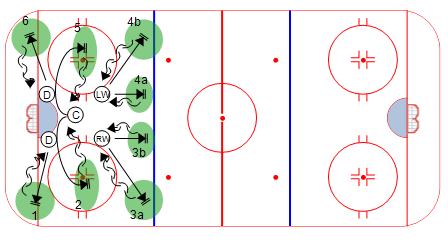
Post-Up Regroup in Action Hey... this systems stuff actually works! We talk a lot of theory here on the blog, but I also like to show what our systems look like in action from time to time, and the Leafs had a text-book execution of our Post-Up Regroup, which led to a goal by Kadri. Let's take a look at some of the key points of the Post-Up Regroup: Post-Up Regroup 1. Defensemen pick up the puck in the NZ and drag skate to open ice 2. Both wingers position themselves on the boards at the far blue line for an outlet pass 3. Center reads the puck movement, and provides middle support to whichever winger receives the pass 4. If the opposing Defenseman "bites" on the winger, he can…